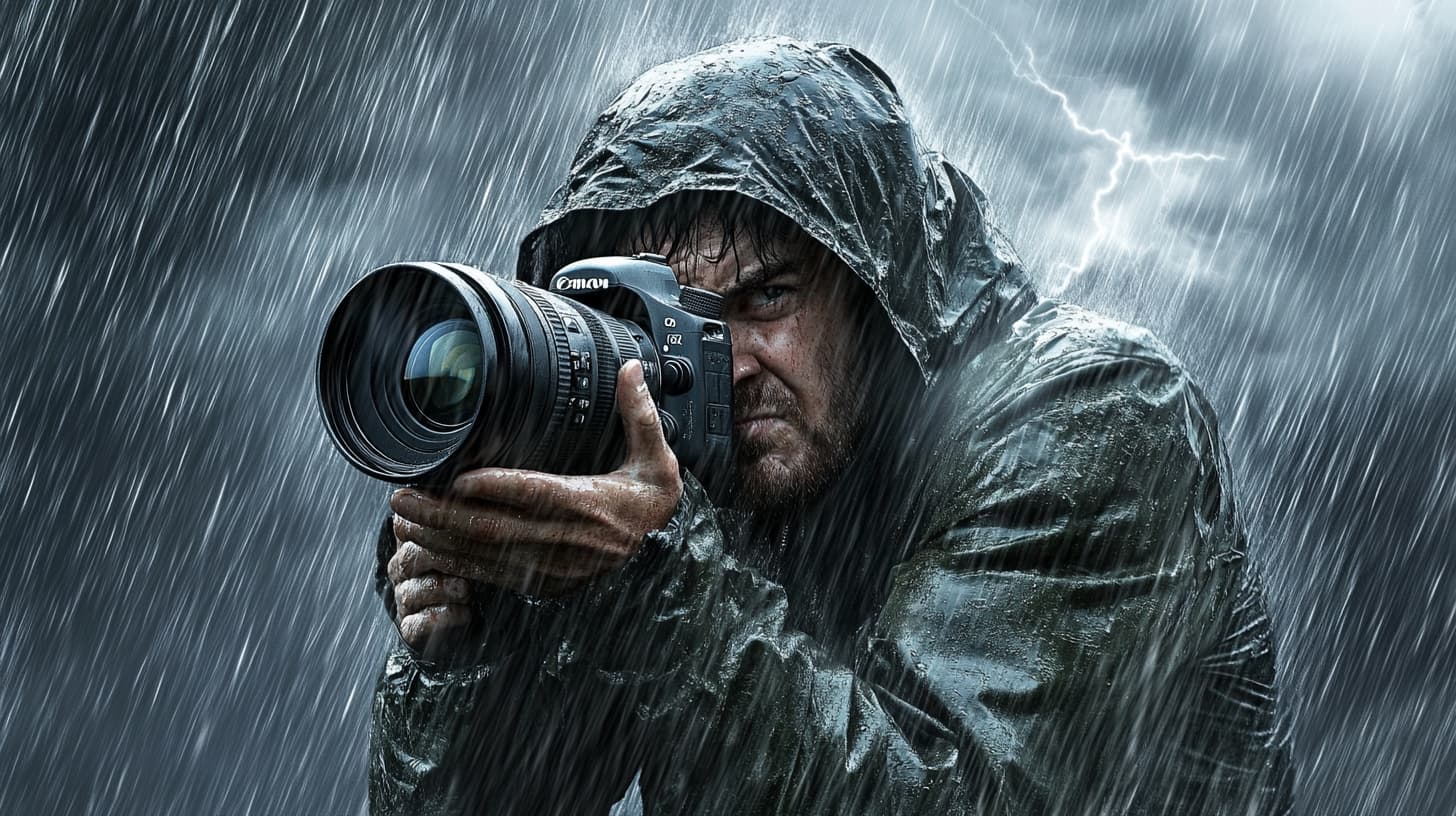
Photography often celebrates perfect conditions: golden hour sunlight, clear skies, soft shadows. But some of the most powerful, emotional, and atmospheric images are born not in perfection—but in chaos. Rainstorms, fog, snow, strong winds, and erratic lighting can be a photographer’s nightmare… or a creative playground. Mastering photography in adverse weather and light is not just about technical skills, but also about mindset, planning, and artistic vision.
In this article, we’ll explore how to shoot in bad weather and unstable light—and how to turn these challenges into visual advantages.
Shift Your Perspective: From Problem to Possibility
The first step is to reframe the situation. Most people put away their cameras when the sky turns grey. But a landscape shrouded in fog, a city street glistening after rain, or a portrait shot against swirling snow can evoke emotions that sunny images can’t replicate.
Ask yourself: what does this atmosphere feel like? How can I tell a story with these elements? Often, it’s not about “overcoming” the conditions—it’s about embracing them.
Know Your Weather and Plan Ahead
Bad weather doesn’t always mean unpredictability. Apps like AccuWeather, Windy, and RadarScope can help forecast rain, storms, and cloud movement. Planning a shoot during or just after a storm can result in dramatic lighting, low-hanging clouds, or reflective puddles that add visual depth.
Fog typically forms in early mornings or after rainy nights. Snowfall is most photogenic during its first fall or when lit from behind. Lightning? That’s an entire genre in itself—but one that rewards patience and safety awareness.
Pro tip: Scout locations in advance when conditions are clear so that you’re ready when the atmosphere changes.
Master Your Camera Settings in Low Light
Unstable or dim lighting is common during cloudy, stormy, or foggy weather. To compensate:
- Raise the ISO: Don’t fear a little noise. Modern cameras handle ISO 1600–3200 quite well, especially if you shoot in RAW.
- Widen the aperture: A low f-number (e.g., f/1.8 or f/2.8) lets in more light and adds depth of field—useful in gloomy conditions.
- Adjust shutter speed: Slower speeds bring in more light, but beware of motion blur. Use a tripod when necessary.
- Use exposure compensation: Grey weather often fools camera meters into underexposing. Dial in +0.3 or +0.7 to brighten the image.
In auto mode, your camera may struggle. Manual mode (or at least aperture priority) gives you the control needed to get the shot right.
Weatherproofing Yourself and Your Gear
Rain, snow, sandstorms—they’re not kind to electronics. To keep your camera safe:
- Use a rain cover or plastic sleeve.
- Keep lens hoods on to block water droplets.
- Bring microfiber cloths to clean your lens regularly.
- Carry a dry bag for your gear.
- Avoid frequent lens changes in humid or dusty environments.
And don’t forget yourself! Waterproof shoes, layered clothing, and fingerless gloves (for control) will make the difference between enduring the weather and working with it.
Use Natural Effects Creatively
Bad weather often comes with built-in effects that can enhance your compositions:
- Fog adds softness and depth. Use it to isolate subjects, create silhouettes, or highlight layers.
- Rain creates reflections and mood. Backlit raindrops can sparkle. Try shooting through wet windows for abstraction.
- Wind adds motion to hair, clothing, trees. Use slower shutter speeds to capture that sense of movement.
- Snow adds contrast, especially in urban settings. Side lighting can bring out texture in snowfall.
- Lightning offers drama—but demands a tripod and long exposure setup. Be cautious and always prioritize safety.
You don’t have to fight these elements—use them as storytelling tools.
Focus Challenges and Solutions
Low contrast scenes (like fog or twilight) confuse autofocus systems. Here’s what to do:
- Switch to manual focus when your camera struggles.
- Focus on high-contrast edges or backlit elements.
- Use focus peaking if your camera supports it.
- Rely on live view magnification for precision.
Remember, achieving sharp focus in tough conditions is part of what makes the shot so rewarding.
Composition in Chaos
When conditions are unpredictable, keep your compositions intentional. Here are some tips:
- Use leading lines (wet roads, railings, tree branches) to guide the viewer’s eye.
- Embrace minimalism: fog and snow simplify scenes—less clutter, more emotion.
- Seek contrast: a red umbrella in a grey storm or a bright coat in snowfall creates visual impact.
- Capture reflections in puddles or wet pavement—look for symmetry and double exposures.
Your image should tell a story—even if it’s subtle or surreal.
Post-Processing Magic
Editing plays a crucial role in bad-weather photography. RAW files are essential—they give you flexibility in exposure, contrast, and color correction.
- Increase contrast in foggy shots for clarity.
- Use dehaze tools in Lightroom or Photoshop.
- Play with color grading to enhance mood (cool tones for snow, warm for stormy sunsets).
- Adjust clarity and texture selectively—some scenes benefit from softness, others need punch.
But don’t overdo it. The goal is to enhance, not fake.
Real-World Examples of Success
Some of the world’s most iconic photographs were taken in extreme conditions:
- Steve McCurry’s images in monsoon rains.
- Sebastião Salgado’s misty landscapes.
- War and documentary photographers working in sandstorms and snowfields.
You don’t need a global assignment to create striking images—you just need to step outside when others don’t.
Conclusion: Find the Unexpected Beauty
Shooting in poor weather or lighting conditions isn’t easy—but it’s incredibly rewarding. You’ll discover textures, emotions, and atmospheres you can’t find under blue skies. It forces you to slow down, observe differently, and develop technical and creative muscles.
So next time the weather turns, don’t pack your camera away. Step out with intention, courage, and curiosity. Because sometimes, the stormiest moments deliver the strongest stories.
