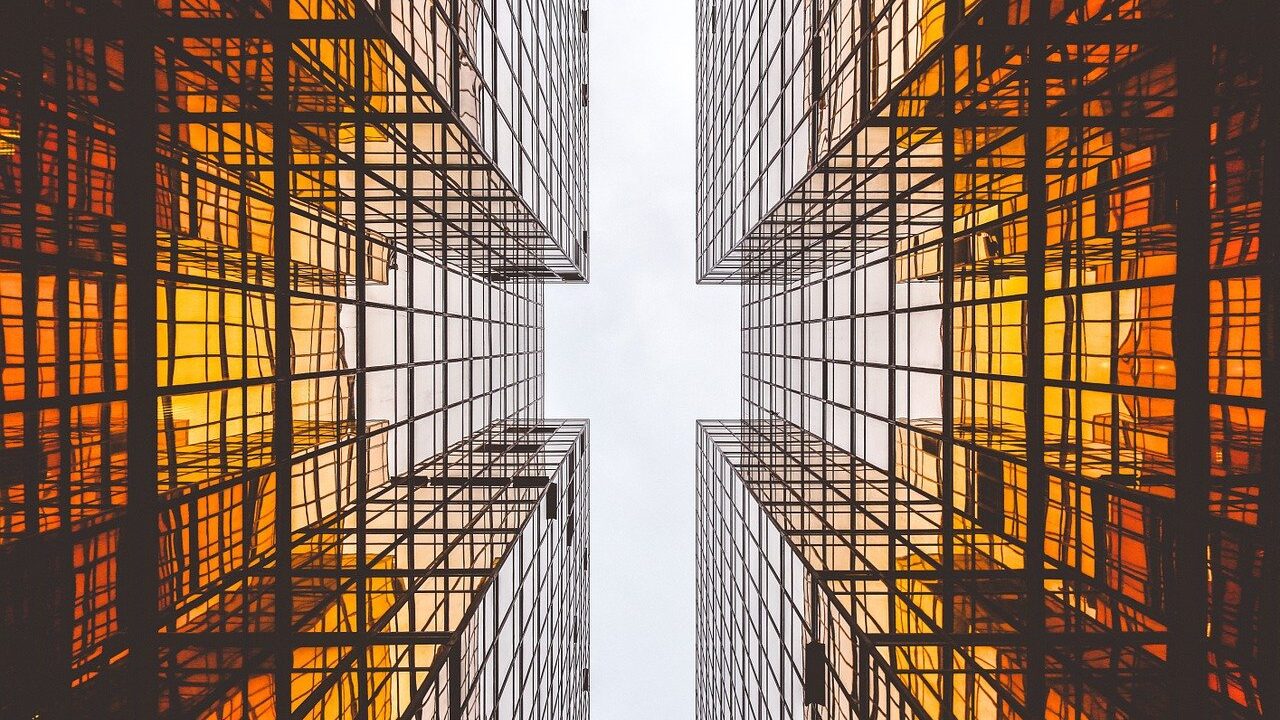
There are many different ways to fix lens geometry and perspective using Photoshop. However, useful tools are also present in Camera Raw and Lightroom, which is the most logical place to start working with the image. Even photos taken with the best lens could use a little correction. The process itself consists of two steps: distortion correction, which helps get rid of “pillow” and “barrel” type distortions, as well as vignetting correction. Amount sliders allow you to more precisely adjust how much correction is applied. For example, if you think the geometric correction is too strong, or, on the contrary, not enough to the desired effect. In that case, you can compensate by dragging the slider to the left or right.
You can also correct the vertical perspective at the stage of processing in Camera Raw. The program will calculate everything itself, but if you want to get full control, you can correct the distortion manually, using the Guided Upright tool. To apply the Upright correction, click the Transform item on the Camera Raw toolbar. This will open the corresponding panel with buttons and a manual correction slider. Clicking one of the buttons on the panel launches the algorithm for analyzing the image and searching for straight lines. Relying on it, Camera Raw will make the necessary perspective corrections (for better results I advise to perform lens profile correction first). There are several options to choose from, since there is no one-size-fits-all option that fits every shot. This is a good reason to click all the buttons to find the best result. It’s important to understand that the mathematical algorithms behind Upright don’t just apply vertical and horizontal corrections. Under the hood of this tool are hidden tools for analyzing the angle of view and the center of projection, which are also correctable. The need for them arises because one rotational movement affects the other, and their relationship can be extremely complex. To have some idea of how this works, imagine adjusting the tilt and angle of a tripod head.
Some of the manual Transform sliders remain for version compatibility, but beyond that, they provide a way to influence the result yourself. In one of the examples below, I’ll tell you how to sometimes reduce the vertical alignment effect to make an architectural object look more natural. When working with extreme perspective corrections, and panoramas in particular, you often need to adjust the Transform sliders to improve the perception of perspective. For example, you can use the Aspect slider to adjust the vertical and horizontal stretch, which helps make the shot look more natural. Another advantage of applying lens and perspective corrections in Camera Raw is that you can quickly apply them to a series of photos. Let’s say it’s logical to apply the same lens corrections to all your shots. Camera Raw lets you set them by default and apply them when you open a new file. To set this up, first apply the correction on one photo. Then open the drop-down menu on the right panel of Camera Raw and select Save New Camera Raw Defaults. If you have multiple architectural shots, you can synchronize the Transformation settings between all the selected files in the Camera Raw window. This synchronizes the Straighten (Upright) settings and/or the manual correction slider values. The Lightroom sync options also offer the option to transfer exact transformations, not just Upright corrections.
Lens Corrections
Selecting Enable Profile Corrections on the Lens Corrections panel automatically applies corrections specific to the lens with which the photo was taken. You can do this with any photo that contains EXIF data for the lens model that matches the Lightroom database. Once you activate the correction, you should see the lens manufacturer, the specific model, and its profile (most likely it will match the installed Adobe profile). In the example below, you can see how the curved steps became flatter after applying lens straightening corrections.
Manual Transform corrections
The Transform sliders on the Transform panel of the same name can be used to make manual corrections in addition to Upright or on their own. For example, the Vertical slider comes in handy for basic corrections of converging vertical lines, like the ones you get when you point the camera from bottom to top on a long building. However, in some cases, too perfect a perspective creates an unnatural and strange look.
