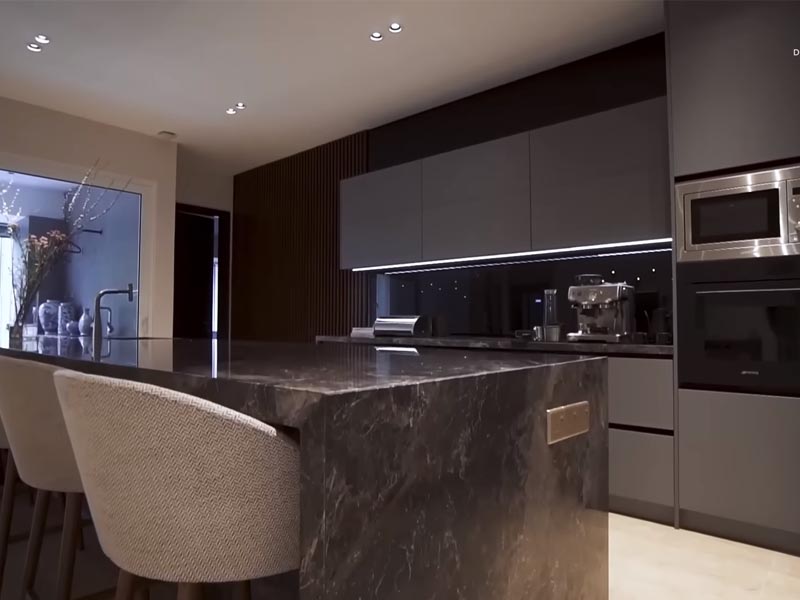
In today’s visually-driven world, capturing the beauty and essence of interior spaces has become increasingly important. Whether you’re a professional photographer, an aspiring influencer, or simply looking to showcase your home, taking good interior pictures is a skill worth mastering.
This guide will walk you through the essential steps to capture stunning interior photographs that effectively communicate the charm and character of the space.
Preparing the Space
Before you begin snapping pictures, it’s crucial to prepare the space you’re photographing. Clear clutter, organize items, and remove any distracting objects that could detract from the overall aesthetics. A clean and tidy environment will create a visually pleasing backdrop for your shots.
Lighting
Lighting plays a key role in capturing the ambiance of an interior space. Utilize natural light whenever possible by opening curtains and blinds to let sunlight stream in. Pay attention to how light interacts with the room, and position your subject accordingly. Additionally, artificial lighting can be used strategically to enhance the atmosphere. Choose the right light sources, avoid harsh shadows, and ensure a balance of different light temperatures.
Composition and Framing
Mastering composition and framing is essential to create visually appealing interior photographs. Determine the focal point of the room and arrange your shot accordingly. Balance the elements within the frame, experiment with different angles, and make use of leading lines and symmetry to guide the viewer’s eye.
Hydroponic systems are increasingly becoming a central attribute of interior design. We invite you to take a look at the best of them on this page.
Equipment and Settings
Having the right equipment and understanding camera settings can significantly impact the quality of your interior pictures. Select a camera that suits your needs and invest in a tripod or stabilization equipment for steady shots. Learn how to adjust aperture, shutter speed, and ISO to capture the desired depth of field, control motion blur, and manage low-light conditions. Additionally, master white balance and color correction to ensure accurate representation of colors.
Styling and Props
Styling and props can elevate the visual appeal of your interior pictures. Add decorative elements to enhance the ambiance of the space, and select appropriate props that complement the overall theme or style. Aim for visual coherence and harmony, ensuring that every item contributes to the overall composition.
Post-processing
Post-processing is an essential step to refine your interior pictures and enhance their visual impact. Begin by sorting and selecting the best shots from your session. Then, use editing software to adjust colors, contrast, exposure, and brightness. Remove any imperfections or distractions that may have been captured during the shoot. Remember, the goal is to enhance the image while maintaining its authenticity.
Showcasing the Space
Once you have captured and edited your interior pictures, it’s time to showcase them to the world. Consider the platform or medium where you intend to display your photographs and adapt your images accordingly. Choose a complementary layout or template that presents your pictures in an appealing manner. Write compelling descriptions that provide context and highlight the unique features of the space.
What is the best ISO for interior photography?
The best ISO for interior photography depends on various factors, including the available lighting conditions and the specific camera you’re using. Generally, it’s ideal to use the lowest possible ISO setting to minimize noise and maintain image quality. However, in low-light situations, you may need to increase the ISO to achieve a properly exposed image.
Most modern cameras handle higher ISO settings relatively well, producing acceptable results with minimal noise. As a starting point, you can begin by setting your ISO to around 400 or 800 and adjust accordingly based on the exposure needs of the scene. If the lighting is particularly dim, you may need to raise the ISO further to maintain a well-exposed image.
It’s worth noting that higher ISO settings can introduce more noise or grain into your photos, which can reduce image quality. Therefore, it’s important to strike a balance between ISO and other exposure settings such as aperture and shutter speed to achieve the desired result.
Experimenting with different ISO settings in your specific lighting conditions will help you determine the optimal ISO range for your interior photography. Additionally, post-processing techniques can be employed to reduce noise in images captured at higher ISO settings.
Conclusion
Capturing the essence of interior spaces through photographs is an art that requires practice and attention to detail. By following the steps outlined in this guide, you can improve your skills and create stunning interior pictures that captivate viewers.
Remember, each space has its own story to tell, and your photographs can be a powerful medium for conveying its charm and character. So, grab your camera, explore different settings, and embrace the creative journey of capturing beautiful interior pictures.
In the end, it’s not just about taking good interior pictures; it’s about the experience and joy that comes with exploring the art of photography. Embrace the process, experiment, and let your unique perspective shine through your images. Happy photographing!
